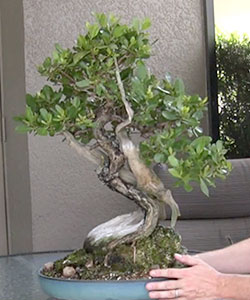
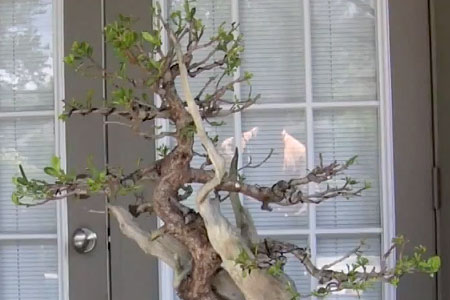
This large Buttonwood Tree, scientific name Conocarpus erectus, has been growing for about 10 years. Since the trunk looked weak, it was placed over the rock to give it more support and to create root over rock style.
There are a few new roots that are growing over the rock making this composition more balanced. In this tutorial, you will learn how to style and clean up this bonsai.
We will re-position the rock, defoliate the tree, clean up the bark, trim branches, and apply the wire.
Items you will need:
- Shears – Regular shears that will be used to trim small branches.
- Bonsai Wire Cutters – You will need to cut wire with these.
- Brown Anodized Aluminum Wire -It will be used for wiring branches. I like to use this type of wire because it has an anodized coating which protects the wire from corrosion. It is also easier to apply than copper and blends in with the bark very well.
- Wire Brush
– It is used to smooth out the surface and to create an aged look.
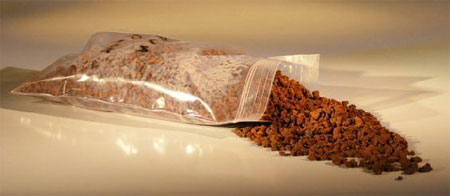
- Bonsai soil mix – Lava rock was used in this tutorial to raise the tree.
- Moss
– This living moss is the perfect ground cover for your bonsai tree.
- Lime Sulphur – We need this to brighten up the deadwood and to bring out its white color.
- Chopsticks – Used to get rid of the air pockets in the soil.
Here is a step-by-step video
Step 1: Defoliate the tree
You want to get rid of the leaves first. Once you do that, you will have easier access to the bark and branches. Buttonwood has very rigid leaves, so if you fold them, they will break off.
You can take off leaves by hand or by using clippers. It is a very easy, but time-consuming process. If you leave a little piece of the leaf, don’t worry, the tree will drop it in time anyway.
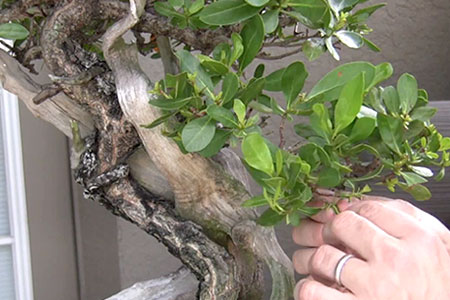
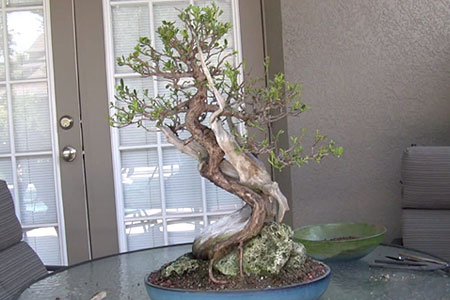
After removing the leaves it is much easier to see the structure. There are too many branches growing straight up. Part of refining this tree is to wire those branches and make them grow horizontally, so we can get better separation between main branches and pads.
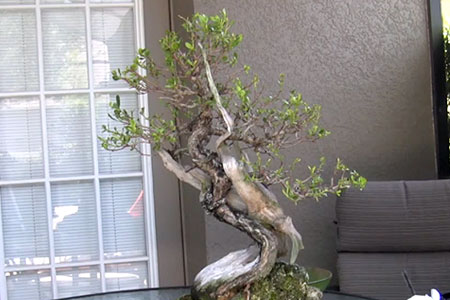
Step 2: Repositioning the rock
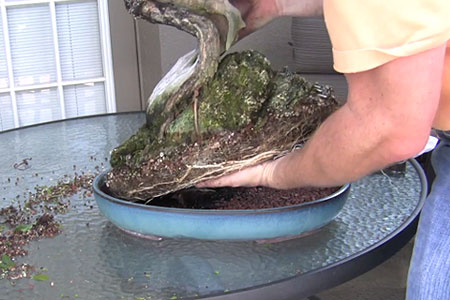
At this point, the rock is starting to sit incorrectly, so we need to lift the rock out of the pot and add a little soil underneath to give a slight angle. The tree looks like it is ready to fall over. Just a little rock lift will make a huge difference.
You want to do re-positioning before you start trimming branches. It is sitting in a great beautiful blue pot that we should keep, therefore there is no need for a new container.
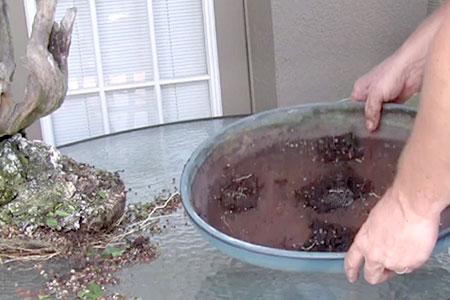
Remove the tree from the pot. This is a good time to trim some of the long-hanging roots and check the mesh at the bottom of the pot. Next, place a little bit of soil to create a slope and set the tree back in.
Lava rock was used as a soil mix in this tutorial to create a slope.
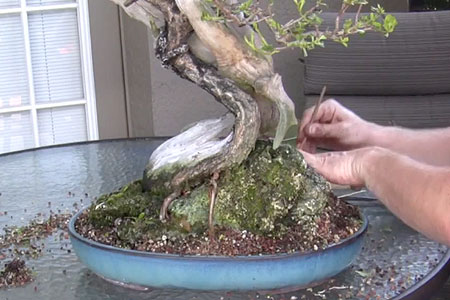
Since the tree is sitting a little higher than before, you will need to break down the soil a little. Use one of the chopsticks to work the roots along the edges to get it back in place.
Step 3: Cleaning the bark
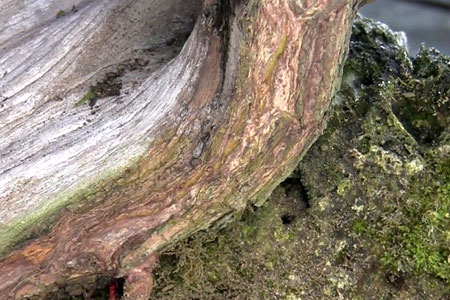
Another thing that needs to be worked on is the bark of the tree. If you remove this coarse bark, underneath is a reddish bark. The reddish bark will look stunning against the white driftwood and dark green foliage.
It makes a great composition. Right now the bark is very coarse and very thick, almost like a pine bark. You can see that new roots have a nice reddish bark.
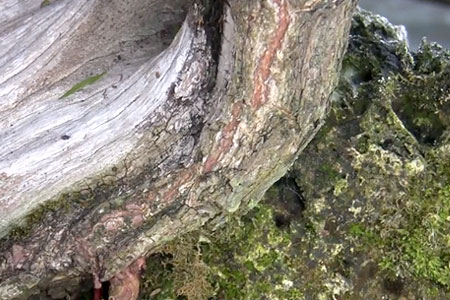
With the wire brush slowly remove the top layer of the gray bark to expose the reddish layer underneath. Use short strokes making sure not to damage the tree. This process is also time-consuming, but the result is worth it.
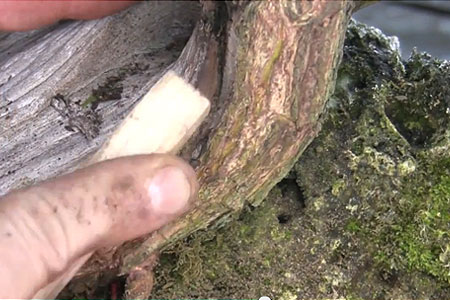
To make this look even more dramatic, you can clean the greenish-looking rock with some white vinegar to make it white. To brighten up the driftwood use lime sulfur. This product is imported straight from Japan. It will prevent rotting and will brighten the deadwood color.
Step 4: Removing branches
We want to develop very defined branches and very defined pads. It does have pads right now, however, they blend together as chunky masses and we want to get a good separation between them. To do that, remove dead tips and small sucker branches in between larger ones.
Clip and grow is a very easy way to maintain this tree, but some of the branches do need to be wired. When making a decision on which branch to keep and which to remove, always remember about the end result and the style you are trying to achieve.
If you are trying to style branches in a horizontal way and some of them are growing straight up, trim them. Leave those that can be wired up and will get to a horizontal shape. Also, give each pad a clear separation. It will make your tree look older.
Step 5: Wiring
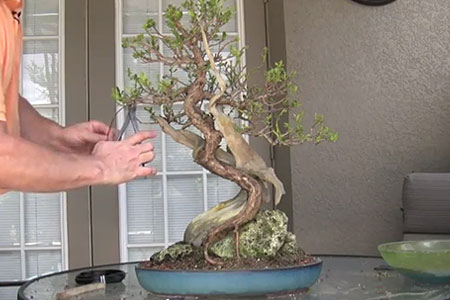
When wiring this tree you don’t need to wire to the tip of the branch. You don’t want to keep the wires for more than three months, otherwise, it will start to cut in. Make sure you are twisting the wire and not the branch. This tree needed a lot of wiring.
Step 6: Adding moss
I little bit of moss a the bottom of the tree added some contrast and also showed how the finished product going to look.
Hope you liked this tutorial. Always remember, bonsai is never finished. It is a living plant that will always surprise you.

Related articles:
