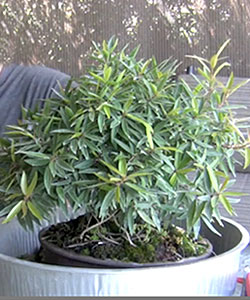
In this tutorial, you will learn how to style Willow Leaf Ficus Bonsai, scientific name Ficus nerifolia. Ficus is a tropical tree that reduces very well. It is great for beginners because it is very forgiving.
The best time for styling this tree is during the growing season. The process of styling includes tree defoliation, branch trimming, root trimming, repotting, and branch wiring.
After you are done styling this tree, leave it for 3-4 months to develop secondary branches.
Items you will need:
- New Container – Since you will be repotting this tree, you will need a new container.
- Brown Anodized Aluminum Wire – It will be used for securing mesh and branches. I like to use brown anodized aluminum wire because it has an anodized coating that protects the wire from corrosion. It is also easier to apply than copper and costs less.
- Mesh – Will be used to cover holes in the container.
- Shears – Regular bonsai shears that will be used to trim small branches and some of the long roots.
- Bonsai Wire Cutters – You will need this for cutting wire when wiring the tree and securing the mesh a the bottom of the pot.
- Root rake – You will use it to get out the soil of the roots. I personally like to use a single rake.
- Bonsai soil mix – I recommend using a good quality bonsai soil mix.
- Powered Handsaw – Will be used to flatten woody parts of the roots.
Here is a step-by-step video
Step 1: Comb out the roots
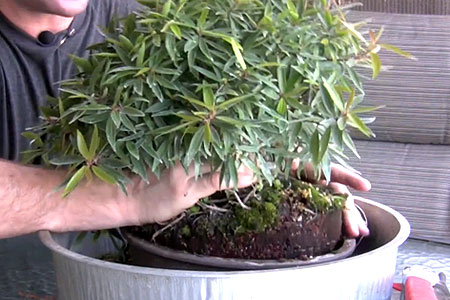
Take the tree out of the pot. Use a single root rake to get all the soil out. Start from the top and work your way to the bottom. Unlike a double rake, a single-root rake slides right between the roots without doing too much damage.
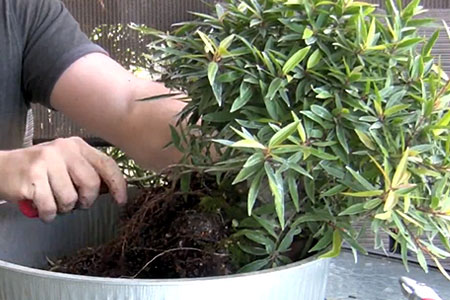
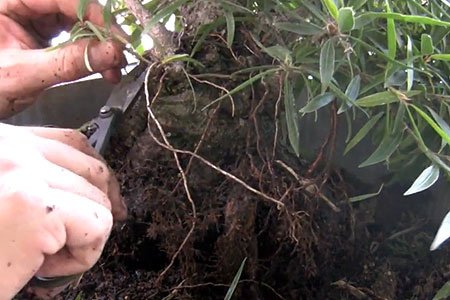
Ficus is very a tough tree, therefore you don’t need to worry about getting it into a new pot right away. It is OK to leave the roots dry for a few hours. Because we will be removing a lot of the foliage at the top, you can trim about 80% of the roots.
Step 2: Defoliate the tree
Since tropical trees never drop their leaves, you want to completely defoliate this tree to see the movement of the branches. When branches are exposed, it is MUCH easier to decide what branches you want to cut and what branches to keep.
Even during winter months, tropical trees continue to grow. They do slow down but still grow.
The best time to defoliate the tree is at the beginning of the growing season. In about 2-3 weeks after defoliation, the tree will pop up a new set of fresh leaves. You can remove all the leaves by hand without using any tools.
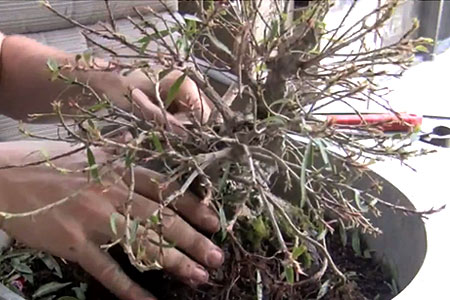
Step 3: Trim branches
Before cutting any branches you need to figure out where the front of the tree will be and what style you want to use. When selecting the front of the tree, you want the widest and most substantial view of the surface roots. That way, you will get the stability for the whole tree.
Since the base is so wide, you can bend a lot of branches down creating a very wide flat canopy. We’ll start by opening up this tree and removing intermediate branches. Then, we’ll wire it up and place it in a new bonsai pot.
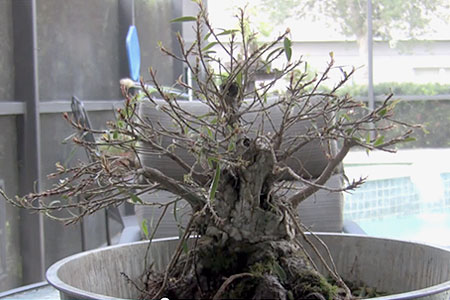
When removing branches, start working from the bottom up. You can use regular shears. This tree has a few aerial roots. Sometimes, it is a great thing, sometimes not. It is nice to use aerial roots when they are growing off the branches. In this case, they are growing way too close to the trunk and don’t add any interest to the tree.
Therefore, you can remove those. Also, remove those branches that cross the front of the trunk.
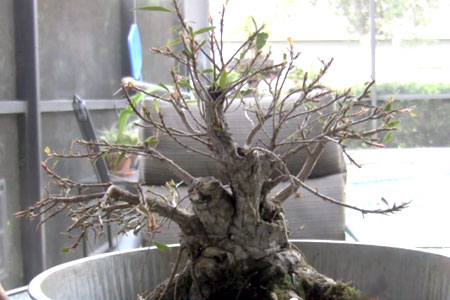
This tree has three trunks. When making a selection between branches, keep in mind you want to have a separation between main trunks and main branches. Therefore, trim all the small branches in between.
Don’t worry about taking a lot of foliage and branches off the tree. It will make this tree stronger and healthier by allowing for more light to get in.
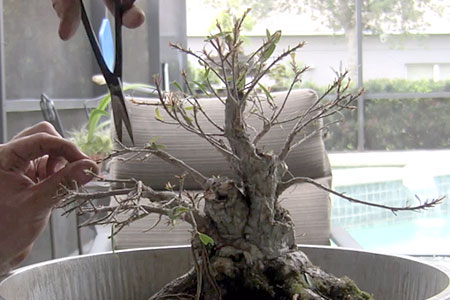
We want to make this tree look older, therefore we want it to have a nice crown at the top. To achieve that result, we need to remove part of the main trunk at the top. This will promote a lot of growth of smaller branches around the top of the tree which will create a nice round canopy and will give this tree an older look.
Step 4: Shorten the roots
This tree has a solid woody mass at the bottom that is hard to reduce with shears. In this case, you can flatten the bottom by using a powered handsaw.
Step 5: Repotting bonsai
I don’t want to go into the details on how to plant this bonsai into a new pot, because I’ve done it in other tutorials. Here is the overview of what you need to do.
Prepare a new container by securing mesh over the holes. Place some soil mix at the bottom of the pot, before placing the tree in. Cover the roots with the bonsai soil mix.
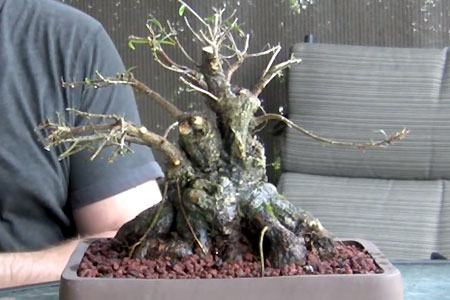
Step 6: Wiring
You don’t need too much wire. Wrap a small piece of 2 mm wire around both branches on the right side. Make sure to twist the wire and not the branch. Because this kind of tree grows very quickly, the wire might cut in but if you use this type of wire, there should be no scaring.
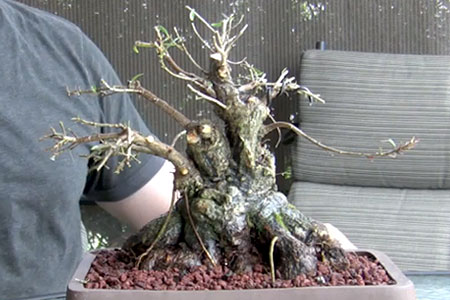
Step 7: Reshaping the tree
This Ficus has been left alone for 3-4 months because we wanted it to develop secondary branches. It has been repotted into a new bonsai pot only once and that’s about it.
Now, it looks like a big green mess. It is hard to tell what branches grow where. That’s one of the reasons why it might be best to defoliate it before working on it, so you can see what you are doing.
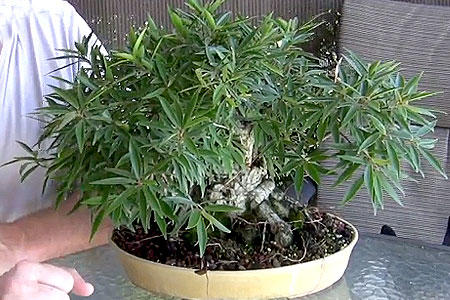
The next step would be to clean it up removing a lot of growth that sucks energy out of this plant. It is still about 6 months to a year away from getting to the point we want it to be at.
So, don’t feel bad if you accidentally remove an extra branch. It will grow back. By the end of this step, you should have a plant that looks like bonsai in development instead of a green shrub.
Start by removing old wires. If you take the wire out too early, the tree will snap back to where it was. It will not hold the shape. If you keep the wire for too long, it will create scarring. On a tree-like Ficus, the scarring will heal pretty quickly, so don’t feel too concerned. Use players to take wires off branches.
Remove leaves by hand that are growing from the wounds that we created by removing branches. Also, remove the tips of the branches to promote the development of new growth and remove all small branches that grow in between the main trunks.
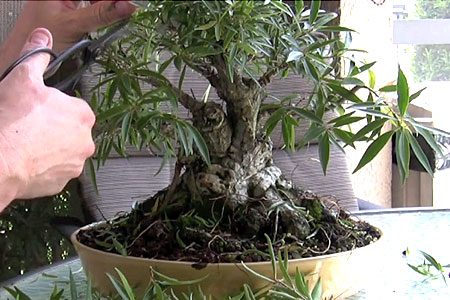
The tree needs to be three-dimensional. We need to add a branch to the right since there is empty space there. Therefore, in the back out of the three branches, leave the one that is closer to the right and remove the others.
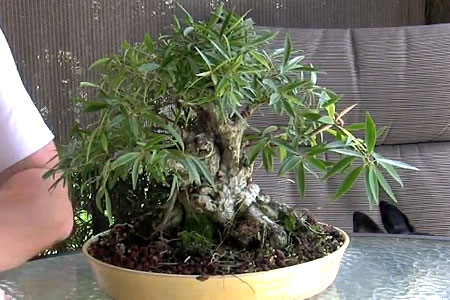
Place it somewhere so that the right side gets more light. That will help it to develop faster. In a few months, this will be a very nice balanced-looking bonsai.
Related articles:
