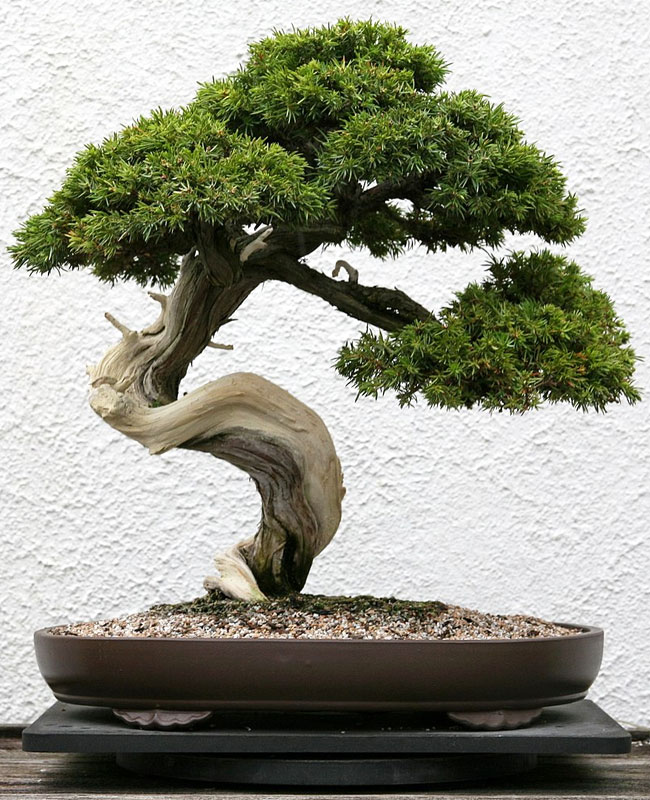
Most of the beginners get their bonsai from a mall, home improvement store, or at the chain store. Commercial quality bonsai is produced on a mass scale in many countries including China and Japan.
They are often lifted from the ground and planted into a bonsai pot. Many times they would sit indoors for a while before you buy them. As a result, those trees are in poor health, growing in poor soil with minimum styling.
Most of these trees die in the hands of novices. Those that don’t, tend to be poorly maintained and never really reach their full potential. Today you will learn how to turn a boring mass-produced tree into an inspiring bonsai in just a couple hours. For this demonstration, we’ll be using Kishu Juniper bonsai.
This is one of the typical trees that gets ignored. It can be turned into something interesting with some careful pruning and wiring. The pruning will help us to open up the tree. Wiring will improve the branch structure and the shape of the tree.
After we remove all unnecessary growth, the light will be able to get in and increase the vigor, and improve the health of the tree. When we are finished, it will look much more refined and dynamic.
If you don’t like to wire, Juniper is not for you, because it is very difficult to get Juniper to grow in a form that we would like without wiring. While it is not impossible, it would take more years than most of us would be prepared to commit to the tree like this.
When this tree was purchased it was growing in poor soil. The soil was so compressed, that the water would run off its surface and over the edges of the container. So it had to be repotted with a new good quality bonsai soil mix.
Since I already have many bonsai repotting tutorials, I am not going to go over this process here. Let’s get to the styling of this tree.
Items you will need:
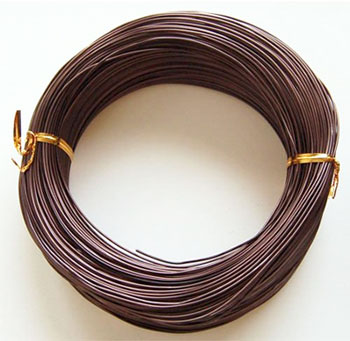
- Brown Anodized Aluminum Wire – It will be used for securing mesh and branches.I like to use brown anodized aluminum wire because it has an anodized coating that protects the wire from corrosion. It is also easier to apply than copper and costs less.
- Shears – Regular bonsai shears that will be used to trim small branches and foliage.
Here is a step-by-step video
Step 1: Prune weak foliage
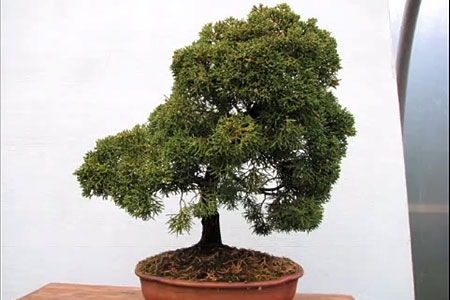
The first thing to do with the tree is to clean the foliage. As you can see, we have a branch that splits into two. There are weak shoots growing in between them.
Because these shoots have been shaded from the light, they are weak and don’t add anything to the style or shape of the tree. Go through the tree and remove them with sharp shears. You want to have clean branches with pom poms of foliage at the end.
Some of the foliage is more loose and open at the end than others. That is because it has been shaded from the light by the foliage above it.
The weaker foliage is not as green and not as bright and the buds are not as tightly clustered as you will find on the foliage that gets enough sunlight. You want to get rid of all the weak foliage on this tree.
Step 2: Prune strong foliage
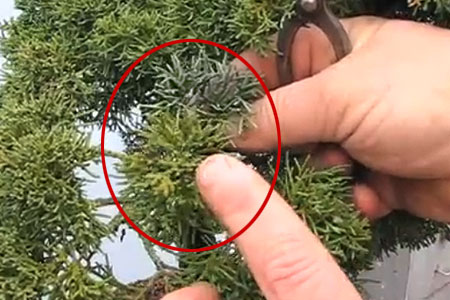
Next, we need to remove some of the strong foliage. Here we have a small twig with a little ball of foliage at the end. We need to remove the tips in the middle of the foliage ball.
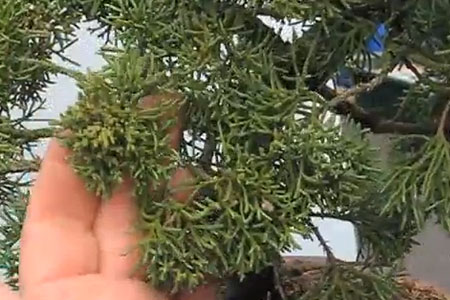
Removing the middle will open up the foliage and allow for the light to get in.
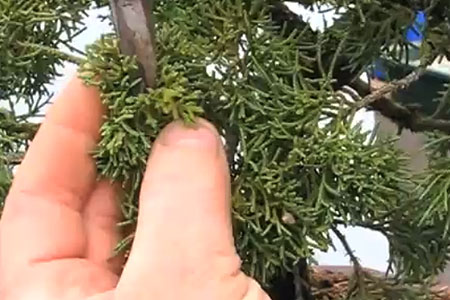
This helps to balance the vigor of the tree, so we don’t have strong parts and weak parts. This also encourages back-budding in the upcoming growing season. In the picture below you can see the difference in openness of the pom pom.
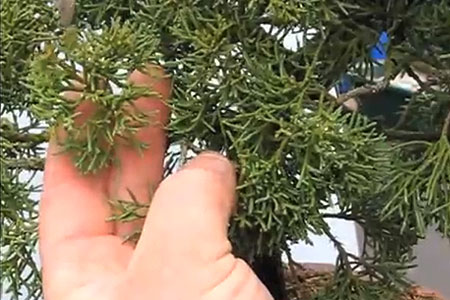
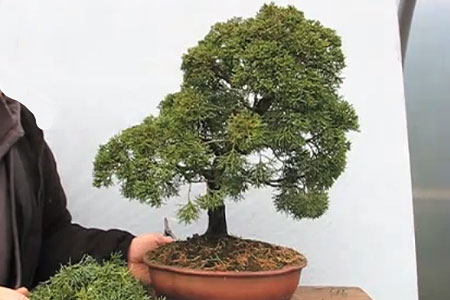
Here is how the tree looks after it is cleaned up. You can see how much foliage was removed. It is important with the Juniper that is growing in a cool climate, that you never remove more than 20% of the foliage at one time. If you do, it will severely weaken the tree and at the same time encourage juvenile foliage.
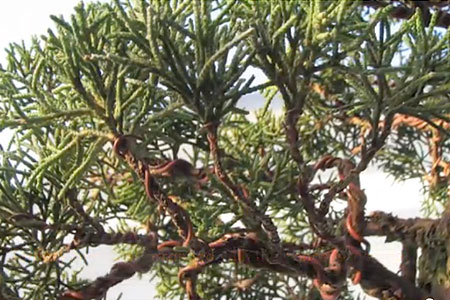
Step 2: Wiring
For wiring, I would recommend using a brown anodized aluminum wire. It is easier to apply than copper and is very inexpensive. It has an anodized coating which protects the wire from corrosion.
Also, the brown wire blends in with the bark so well that you can barely see it. Wire main primary branches first and then move to the secondary.
Apply wire at a 45º degree angle wiring towards yourself. When arranging branches, turn their ends up. Wire will stay on this tree for one to three years. Check the wire often to make sure it is not biting into the bark. Light marks will heal over time, unlike heavy marks that might leave scars.
I don’t recommend reusing the wire. Use wire cutters to remove it. Avoid using other tools like shears, because the wire might damage the blade of the shears. Wire cutters are specially designed to remove the wire without damaging the bark of the tree.
Step 3: More trimming
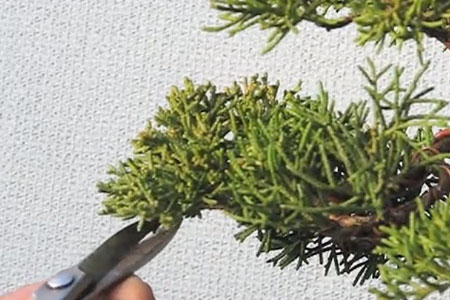
Also, clean the undersides of the new pads.
Final Result
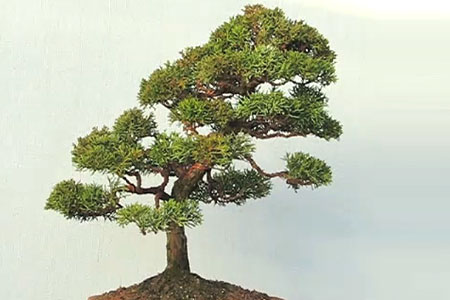
After all the pruning and wiring have been completed, the tree looks much more open. It is not a boring little Juniper anymore. This tree has a shape, a nice branch structure, and foliage pads.
Related articles:
