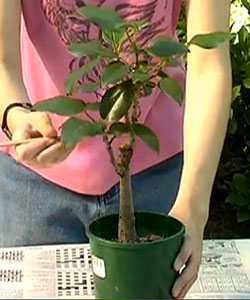
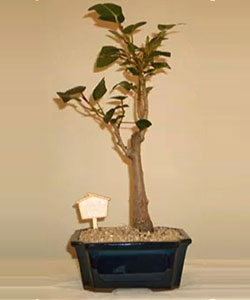
In this repotting tutorial, you will learn how to report a Moreton Bay Fig, scientific name Ficus macrophylla. This bonsai was sold in a nursery pot and needs to be repotted into a bonsai container.
Bonsai are often mass-grown on a farm and are planted into a container right from the field. If you don’t purchase a bonsai from a reputable bonsai nursery, it might be grown in very poor soil that has low water absorption and slow drainage.
In that case, you should repot your bonsai with a good-quality soil mix as soon as possible.
Items you will need:
- New Bonsai Pot – We want to repot this plant into a new container.
- Shears – Regular shears that will be used to trim long roots.
- Bonsai Wire Cutters – You will need to cut wire with these.
- Root Pruners – You can use this tool to cut trunk knobs and thick woody roots.
- Root Rake – You will use it to get out the soil of the roots.
- Bonsai Soil Mix – I recommend using a good quality bonsai soil mix. This is a great soil mix that has high water absorption, fast draining, and good aeration.
- Mesh – Will be used to cover holes in the container.
- Wire – Will be used to wire the tree to the new pot.
- Chopsticks or bamboo sticks – These will be used to pack the soil and to get rid of air pockets.
Step 1: Prepare the container
When choosing a pot, make sure its length is 2/3 of the height of the tree. As for the looks, the container should always complement the tree. At the bottom of each container, you will see drainage holes.
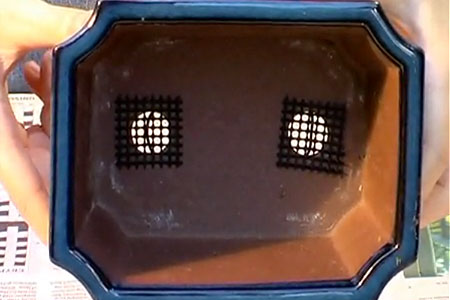
To make sure the soil doesn’t come through the pot, we need to cover the holes with a mesh. Each piece of the mesh should be a little bigger than the hole.
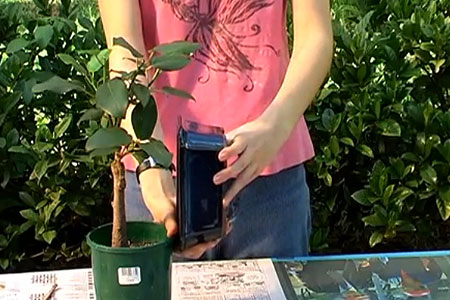
Cut the mesh with scissors and secure it with some wire at the bottom of the pot. You will also need to run the wire at the bottom of the pot to secure the tree. Each wire should be the length of the container plus 1/3. Bend the ends to the sides for now.
Step 2: Raking the roots
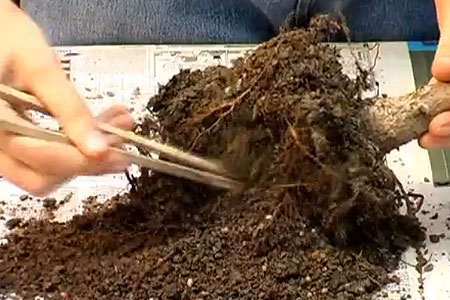
Take the plant out of the old pot. Using a rake or chopsticks start removing the soil. I like to use a single rake but double or triple will work just fine.
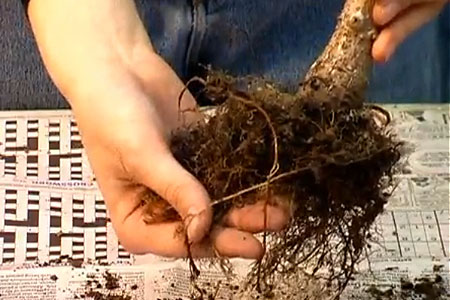
Start at the top of the root ball and then move to the bottom. In this step, you want to remove the soil without damaging the roots. Carefully slide the rake through the roots.
Step 3: Trimming the roots
When trimming roots, you want to get rid of all the long roots while keeping small feeder roots close to the trunk. While feeder roots supply trees with nutrients and water, long thick roots are just a waste of energy. Trim them off.
Step 4: Planting the tree
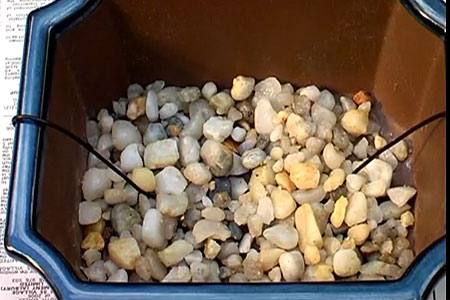
You can place some drainage pebbles at the bottom of the pot if you want. But if you have a good quality bonsai soil mix, you don’t have to.
Good quality bonsai mix usually consists of grit, clay, or rock and some organic material like pine bark that provides excellent water absorption and drainage. Add some soil to the bottom of the pot before planting the tree.
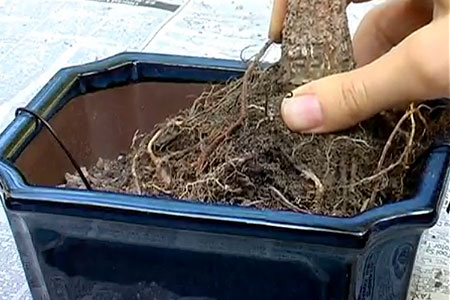
Place the tree into the pot and secure the roots with the wire. Use pliers to twist the wire. The wire should be below the soil line. When positioning the tree, make sure it is slightly off-center for a more natural look.
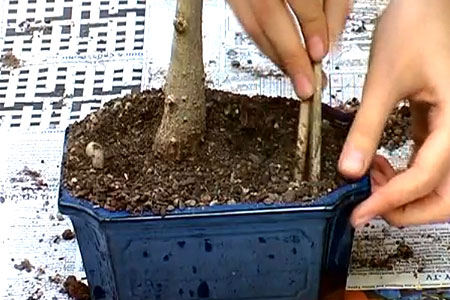
Add the rest of the soil. When you add soil to the pot, air pockets might form. Use regular chopsticks to get rid of them.
As a last step, you can add some decorating pebbles. This will help the soil to stay moist. Water your plant throughout and place it in a shady spot for a week after repotting.
Related articles:
