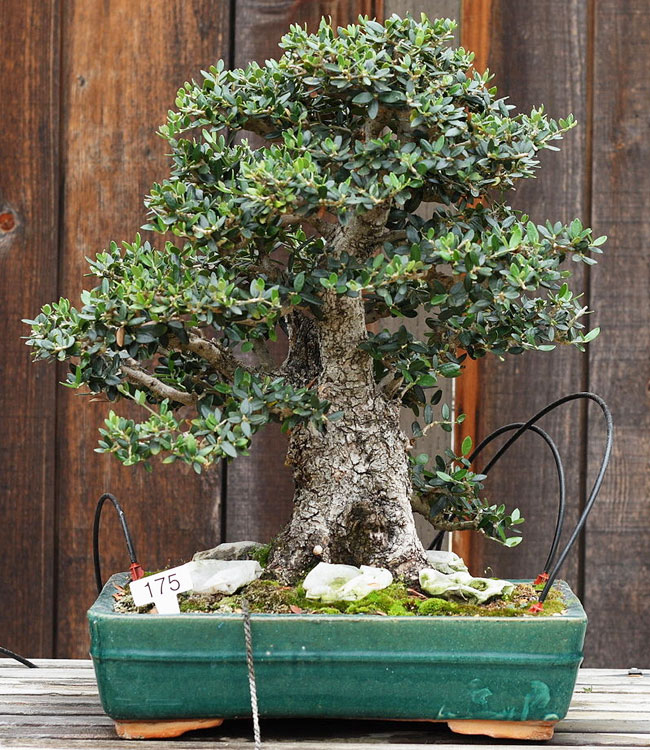
In this post, you will learn how to clean up the trunk, hollow out a stump, and trim and wire the branches of the Olive Tree, scientific name Olea europaea. This tree has been growing in the same pot for over 4 years.
Last summer, it was cut back very hard and as a result, it developed a fine dense branch structure that can be used to create a beautiful bonsai.
This is a great material for bonsai because it has a character: beautiful bark, natural deadwood, and a nice twist in the trunk.
When you begin working on a material like this, it is not really important to know what exactly you want to make out of it. You just need to find parts of the tree that you want to highlight.
In this tutorial we will be removing a few branches and opening up the structure, so you can see this beautiful trunk. Next, we’ll rearrange the branches we have left and do some carving. The whole process will take about 2-3 hours.
Items you will need:
- Shears – Regular shears that will be used to trim small branches.
- Concave Branch Cutter – Use it to cut branches.
- Bonsai Wire Cutters – You will need it to cut wire.
- Makita Carving Tool
– I use Makita which is perfect for working on bonsai. Operation is super smooth and ergonomics are very comfortable.
- Diamond Tip Carving Burr
– This 120-piece set offers 30 profiles in four grits, 120, 240, 400, and 600, so you can progress from rapid cutting to final finishing cuts with the same profile.
- Brown Anodized Aluminum Wire – I like it because the brown color blends in with the bark very well and it has an anodized coating that protects the wire from corrosion.
- Gas Torch
– This is used for finishing deadwood after carving/sanding. Simply burn off the carving fluff and brush with a hard wire brush for a smooth aged finish.
- Wire Brush
– It is used to smooth out the surface and to create an aged look.
Here is a step-by-step video
Step 1: Trim the branches
Even if you are not sure what style you are going for, you want your tree to look older. To achieve that, there needs to be a good separation between leaf pads and main branches.
You want to be able to see light through the canopy. Therefore, start by trimming all branches that are too long and the small branches that are growing between the main ones.
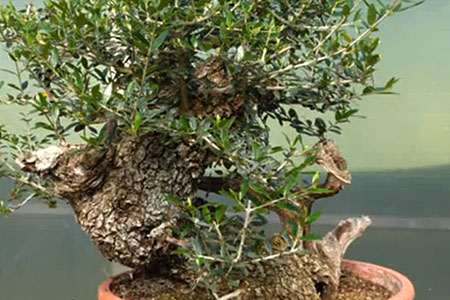
It is much easier to get rid of the small branches and then decide on the thicker ones. A lot of times you will change the direction after opening up the tree and getting rid of the useless growth.
When making the decision on what thick branch to keep and what to trim, think about the balance and style of the tree.
Step 2: Trunk carving
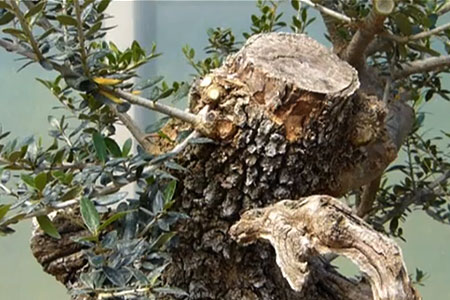
This Olive tree has a beautiful trunk that needs to be cleaned up. Use an electric bonsai carving tool to remove some dead bark near the top of the stump. When carving with a power tool, make sure to follow the grain of the wood.
Small details revealed during carving can later become interesting features of the tree. Carving across the grain might lead to a fake appearance. Also, small cracks might appear in line with the grain as the wood ages and dries.
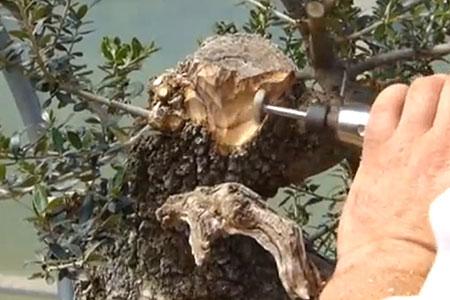
On the front of the tree, we have two large knuckles that have some branches. We want to keep them to ensure the tree looks natural. To add some interest to the trunk we can hollow out the stump at the top.
After cleaning up the bark, you can see the difference in the color of the wood. It goes from a light color to a dark one. This tells you what wood is dead and can be removed.
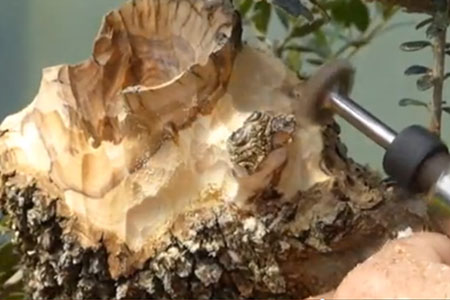
Step 3: Hollowing out the stump
When using a bonsai carving tool, you need to decide what to do first instead of just diving in. Because it doesn’t matter how great your power tool is, if you don’t know what you are doing you’ll end up with an ugly result.
In this case, you want to have a nice deep hollow in the middle of the stump. Be careful not to remove too much from the top otherwise, you will lose that beautiful curve and movement of the trunk.
Now that we’ve removed quite a bit of bark, you can see the hole is nice and deep. When hollowing out the tree you need to get deep into it otherwise it looks like a piece of wood that is stuck on the tree.
Naturally, something like this would in time hollow all the way down and through the trunk as water gets trapped in there. Therefore, such a deep hollow makes it look very natural.
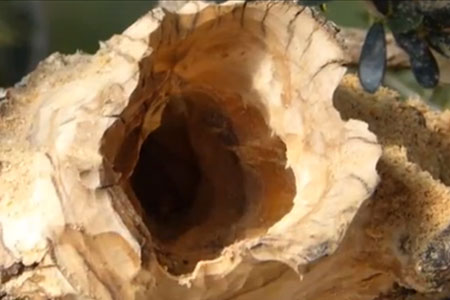
Step 4: Adding details and texture
After roughing it out and hollowing it, you can move to smaller tools to add some details and texture so it will blend with the rest of the tree.
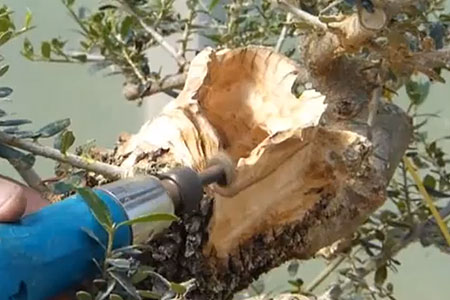
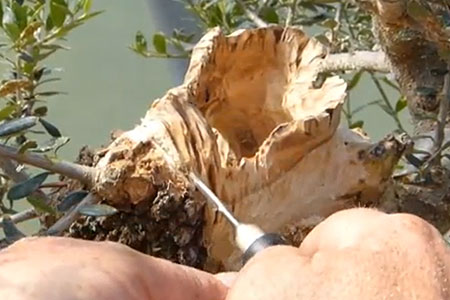
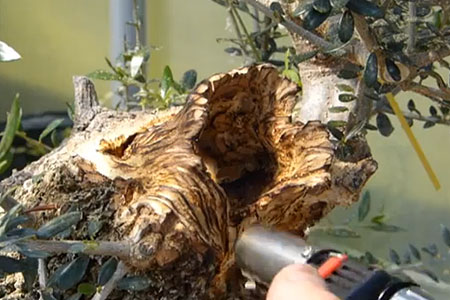
Step 5: Burning the wood
As you clean up the bark and create texture, small pulls, and burrs begin to be noticeable. To get rid of the fibers, gently burn the surface of the wood. You might think this is crazy, but scorching the wood with flame will add great details blending carved areas into natural deadwood.
Before you begin, make sure to protect other areas of the tree, especially the foliage. You can use a piece of hardboard to protect the trunk. Also, a wet towel can be put around branches to protect them from heat generated by a gas-powered torch. Next, brush with a hard wire brush for a smooth aged finish.
Step 6: Wiring
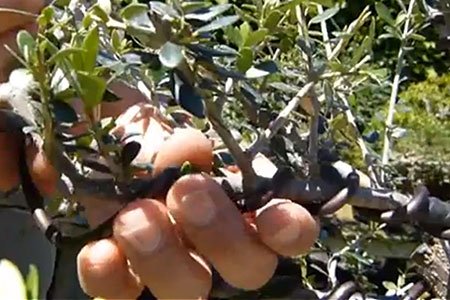
Wire using aluminum. Make sure not to damage the bark when using large gauge wire. Use bark tape to protect vulnerable areas of the bark.
Final Result
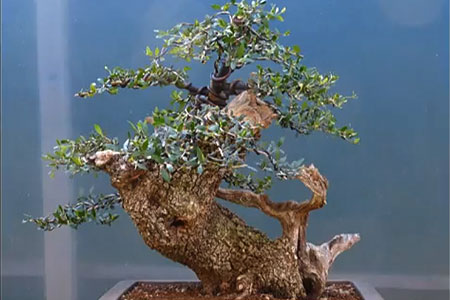
As you can see the tree has been opened up, branches trimmed, and wired. The ugly stump at the top now has a nice deep hollow that adds interest to the tree.
We want this tree to develop new growth to see a nice separation between the branches. The goal here is to make the tree look natural. Your work is not done until no one can tell the tree has been worked on.
Related articles:
